Choose and connect a customer channel
Choose a channel explicitly enabled for your workspace, follow its own guide, and check incoming messages and replies.
- Who uses it
- Administrators
- Content updated
- 2026-09-09
Sign in to your company workspace first. Add the /app/… paths below to your company system URL.
Before you start
- Channel-management access and permission to authorize the provider account.
Steps
Check the channel available in your workspace
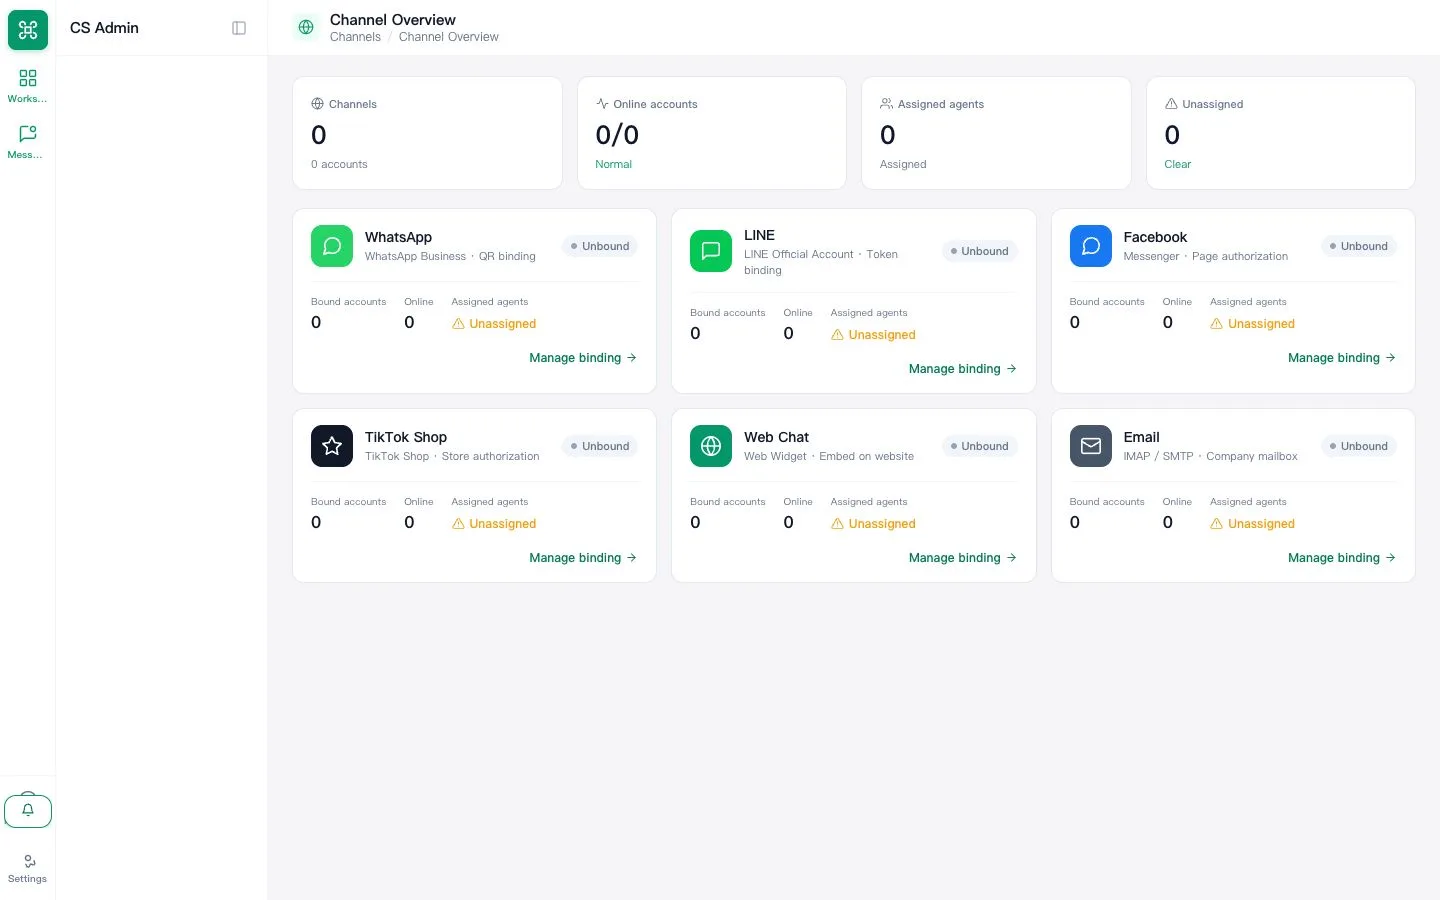
Open Channels at /app/channels. Check the account type and availability before starting: Email and Web Chat require configuration and a real test; TikTok needs workspace enablement; Instagram is not open. LINE runs only where AllOne Sales has connected it for your company; confirm with support before promising it to a customer.
Expected result: You know which channel can be connected and who can authorize it.
Follow the guide for that channel
Return to the Connect customer channels group in the manual and choose Email, Facebook, WhatsApp, TikTok or Website chat. Use the correct provider-specific authorization flow. If the wizard asks for a team or responsible agent, select an existing team and an active agent; ask an administrator if the expected option is missing.
Expected result: The channel is saved with the required service assignment.
Verify an incoming message and a reply
Use an independent test customer account to send a message to the connected account. Find it in the shared inbox, reply, and check the receiving account. A saved authorization or green setup check alone is not proof of message delivery.
Expected result: Both the incoming message and the reply are confirmed before using this channel for customer service.